How to create a Mikrotik OpenVPN server
Bellow you can find the steps I used to create a OVPN server using a Mikrotik router.
In this example we will be using a router with the external IP 192.168.88.2, internal IP 192.168.89.1 and the pool for the OVPN clinets will be 192.168.87.0/24.
- Generate and sign the certificates:
You will need to run the command bellow one by one, the signing of the certificates will take time and will load the CPU.
Note that sometimes you will get an “action timed out” error when you will be signing the certificates, that is not a problem, you just have to wait a little bit longer.
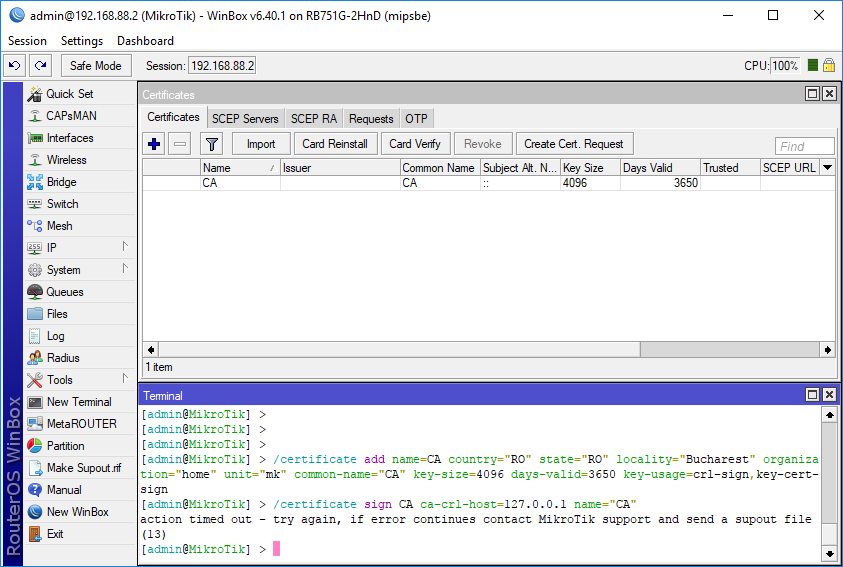
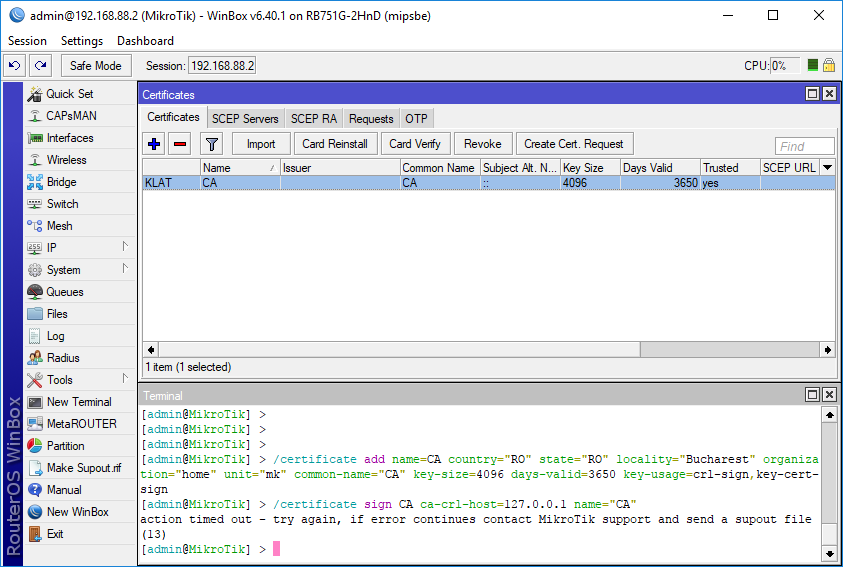
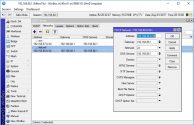
You can see that the router is busy with the certificate sign from the CPU usage, when the certificate is signed the CPU usage will drop and you will see the “KLAT” in the line description of the CA certificate and “KI” at the server and client certificate, after the certificate signing is done you can proceed with the next certificate.
/certificate add name=CA country="RO" state="RO" locality="Bucharest" organization="home" unit="mk" common-name="CA" key-size=4096 days-valid=3650 key-usage=crl-sign,key-cert-sign
/certificate sign CA ca-crl-host=127.0.0.1 name="CA"

/certificate add name=server country="RO" state="RO" locality="Bucharest" organization="home" unit="mk" common-name="server" key-size=4096 days-valid=3650 key-usage=digital-signature,key-encipherment,tls-server
/certificate sign server ca="CA" name="server"

/certificate add name=client country="RO" state="RO" locality="Bucharest" organization="home" unit="mk" common-name="client" key-size=4096 days-valid=3650 key-usage=tls-client
/certificate sign client ca="CA" name="client"

/certificate add name=client1 copy-from="client" common-name="client1"
/certificate sign client1 ca="CA" name="client1"
- Export and download the certificates and key:
/certificate export-certificate CA export-passphrase=""
/certificate export-certificate client1 export-passphrase=12345678
Save the exported files to your PC.
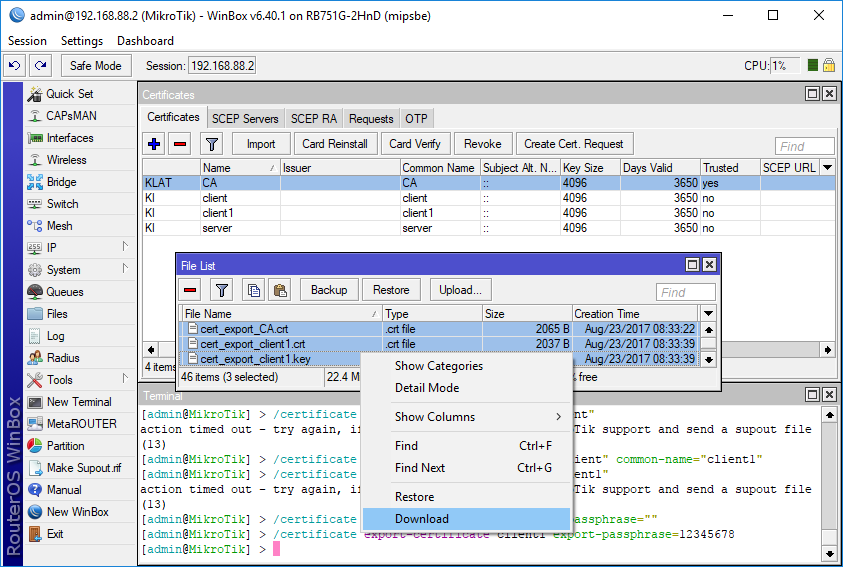
Remove the “cert_export_” from the certificate name, afther that you eill have 3 files: “CA.crt”, “cleint1.crt”, “cleint1.key” “This is not so important but the long file name bothers me”.
- Sign the public key:
Install OVPN on your PC and make sure you check the “EasyRSA 2 Certificate Management Script”.
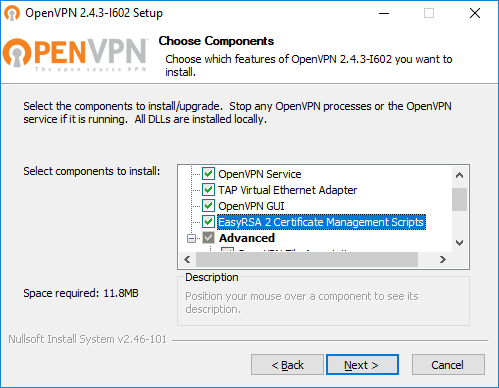
Open an elevated command prompt, navigate to the location where you saved the files and run:
"C:\Program Files\OpenVPN\bin\openssl.exe" rsa -in client1.key -out client1.key
It will ask you to : “Enter pass phrase for client1.key”, you set the pass phrase when you exported the certificates, in this example the pass phrase is: “12345678”.
- Set the OVPN server on the router:
Create a new pool fot the ovpn server:
/ip pool
add name=ovpn ranges=192.168.87.30-192.168.87.254
/ip dhcp-server network
add address=192.168.87.0/24 comment=vpn dns-server=192.168.89.1 gateway=\
 192.168.89.1 netmask=24
Configure the OVPN server:
/ppp profile
add bridge=bridge dns-server=192.168.89.1 local-address=ovpn name=open_vpn \
 remote-address=ovpn use-compression=no use-encryption=required
/interface ovpn-server server
set certificate=server cipher=blowfish128,aes128,aes192,aes256 default-profile=open_vpn enabled=yes \
 require-client-certificate=yes
Add username and password for the OVPN Client:
/ppp secret
add name=client1 password=password1 profile=open_vpn service=ovpn
Add OVPN exception to the firewall:
/ip firewall filter
add action=accept chain=input comment=VPN dst-port=1194 protocol=tcp
You are all set now and you can connect to your OVPN server.
To test the server, in addtition to the certificates and the key, I used the test.ovpn and auth.cfg.
Note that Mikrotik does not support UDP and LZO compression.
A side advantage of using a VPN is that I’m blocking the ads on my phone by using ad block script on the OVPN server and connecting the phone to VPN.
About Author
Add a Comment
You must be logged in to post a comment.
OpenVPN Error:
ovpn,debug,error,,,,debug,l2tp,,warning,,,,,firewall,,,,debug duplicate packet, dropping
Yes I know, I get the same error on my home and work networks and I haven’t been able to find a solution, but it seems that it doesn’t affect anything so I just ignore it.
congratulations, great job! I need to add a rule to access my lan servers
/ip firewall> nat add chain=srcnat src-address=192.168.87.0/24 action=masquerade log=yes log-prefix=”OVPN”